
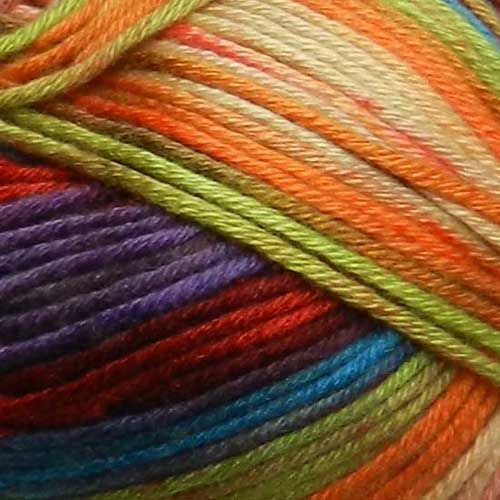
I have been wanting to crochet socks ever since I taught myself how to knit socks. It has taken me awhile to get inspired to crochet socks but after I saw Deborah Norville Serenity Garden yarn by Premier yarns in the color Gems, I was instantly inspired to use the yarn for socks.
I had trouble trying to find just a basic pattern for crocheted socks. I looked online, blogs, youtube, books, etc. and still no pattern for just a basic sock pattern that was not complicated. So, I decided to make one to help some beginners out or other crocheters who want a nice pattern! I am passing on the pattern for free. I want others to enjoy crocheting socks because it is simple, quick to crochet a pair of socks (It only took me 4 hours once I understood what I was doing!).
If you have any questions, please let me know!
Generic Crochet Sock:
This pattern can be modified to any crochet stitch. You can use the crochet stitch desired by switching hdc for the stitch chosen. Also, make sure that you use your foot or a paper copy of someone’s foot to make sure the gauge and length is correct.
I used a US hook G (4.00 mm) using fine yarn with a gauge of 5.75-6.5 stitches per inch.
Starting| To start making the socks, chain 8 (or enough chain stitches to be 1.5 inches) and slip stitch into the back loops of the chain stitches just crocheted. Once you have gotten back around to the first chain stitch, ch 1.
Toes| Half double crochet (hdc) in each of the top stitches. When you reach the first edge, crochet 3 hdc in the end stitch (this creates a double increase on the end). Then, continue on and hdc into each slip stitch and do another double increase of the other edge. Thus, completing one round. Continue doing this until the sock covers the width of the top of all your toes. For me, this took 5 rounds.
Foot| Once completed, continue to hdc without increasing until you are about 3 inches less than the total foot length (I think of this 3 inch part as the heel).
Heel| Work until you are halfway along and area at the edge of the bottom of the sock. Place a marker (or I just eyeball this). Flatten sock (or just eyeball) to see the stitch on the other edge of the bottom of the sock. Place a marker (or just eyeball). Continue to hdc until you reach that stitch, then ch.1 and turn. SC until you reach the first marker that you placed.
Now, to make the heel, you need to decrease stitches. To do this, SC each stitch until you are one stitch away from the end of the row, turn, ch.1 (leave an unworked stitch – this creates a side that you will use later on). Continue decreasing like this until the stitches down to about 2 inches. Also, make sure that you have the same number of decreases on each side.
Now, to increase stitches in the heel, work across to the end of the row in SC, SC in the side of the step stitch, slip stitch into unworked stitch, and turn. Ch.1, skip slip stitch, and SC across the row until you reach the side of the step stitch and repeat. Continue to do this until you have increased enough stitches to were you were before decreasing.
Because I have broke my heel before and have very narrow feet, on the last row of the heel, I sc2tog across the heel stitches to keep the sock snug over the top part of the heel that I broke. However, other people might enjoy a snug fit as well!
Cuff| HDC across the top of the sock (instep) and continue to HDC across the heel stitches. Continue to HDC each round until you have reached a desired cuff length. Fasten off when done.
*This is an old post. I hope to be updating this in the near future to include pictures*